Timetable

You can access your personalised timetable in two ways:

  • Online via Celcat Calendar, in a web browser
  • via Outlook Calendar (via your email account), in a browser or on your device

All of these view options will show the same information. The online ‘Celcat Calendar’ will show the most up to date information, as it can sometimes take time for data to ‘push through’ into your Outlook Calendar. The same data is pushed into your Outlook Calendar, meaning you can add your own events, reminders, deadlines, etc. alongside these events.

Note – you will only see your personalised timetable once you have formally enrolled, have access to your ICT account, and once the Department has published the timetable.

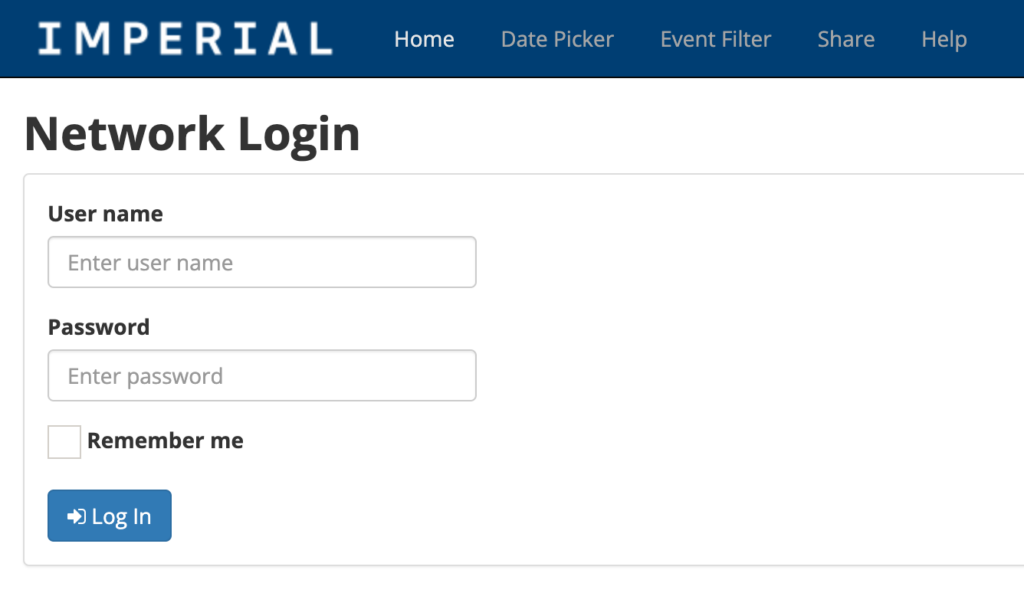
1. Navigate to the following address in a web browser

https://www.imperial.ac.uk/timetabling/calendar/LdapLogin

2. Log in with your standard College credentials

e.g. if your email is username@ic.ac.uk, log in with username and your password

3. Navigate the Home Page

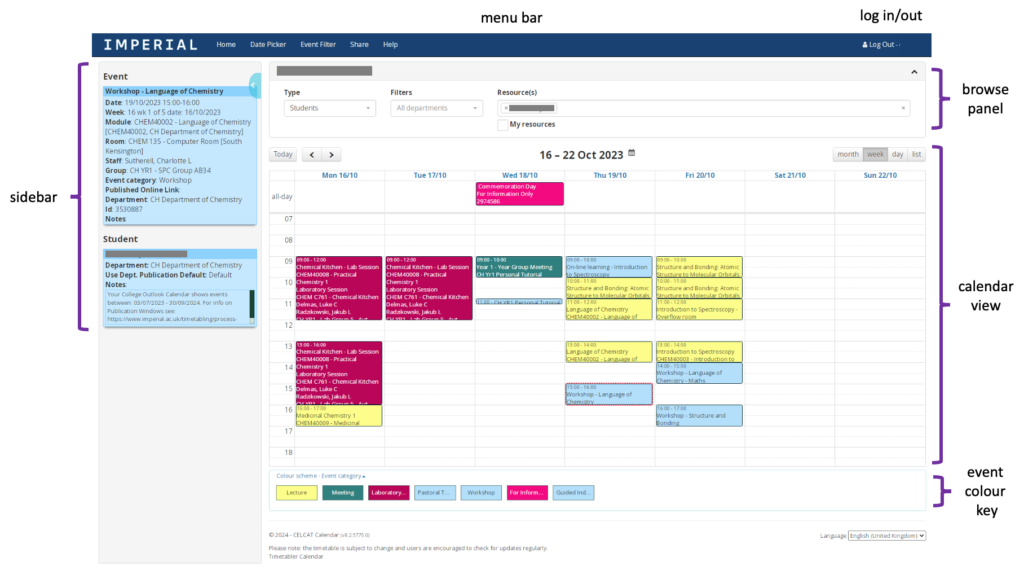
Each timetabled event appears as a coloured block in the calendar view. This shows the event start/end time, the event name, and other details. Often these details are limited by the size of the event block – click the block to load the details into the sidebar.

  • Menu bar – The application menu
  • Log in / out – A login/logout link
  • Browse panel – A panel for resource selection
  • Sidebar – A panel used to display currently selected resources and events
  • Calendar view – The main calendar view displays appointments for the selected resources and provides date navigation
  • Event colour key – A key to the colour coding of events currently on screen

4. Understand the Sidebar and details

Clicking an event in the Calendar view will update the information shown in the Sidebar.

Important details can be found here:

  • Title – shows the event name
  • Date – shows date and start/end time of the event
  • Module – shows the name of the module the event is part of
  • Room – shows the room(s) the event is scheduled to take place in
  • Staff – shows the staff assigned to this event on this specific date/time
  • Group – shows the group of students attached to this event
  • Event category – shows the type of activity scheduled
  • Notes – any other notes may be written here (e.g. links to website, Teams links, etc.)

The guidance below shows how to access your Outlook Calendar via a web browser. However, you can also access your Outlook calendar on your personal devices or via an email client – some details can be found here for how to set this up.

1. Navigate to the following address in a web browser

http://outlook.com/ic.ac.uk

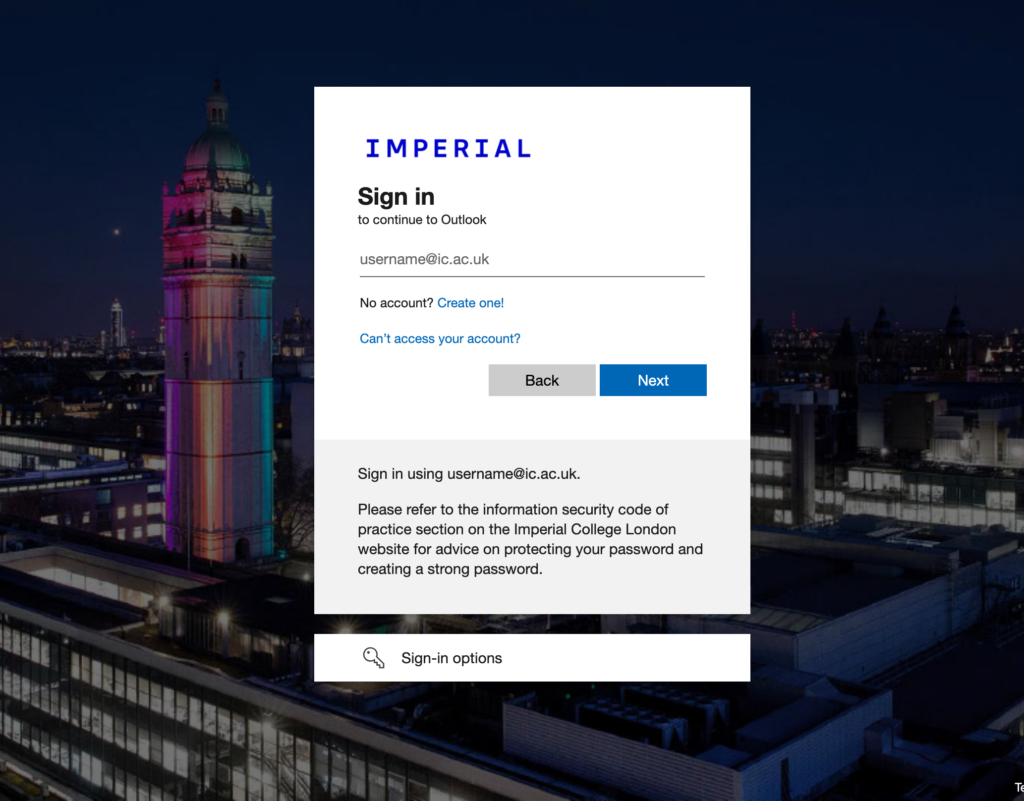
2. Log in with your standard College credentials

This should be of the form username@ic.ac.uk

Note – you may require to authenticate your login using Multi-Factor Authentication (MFA)

3. Navigate to your Outlook Calendar

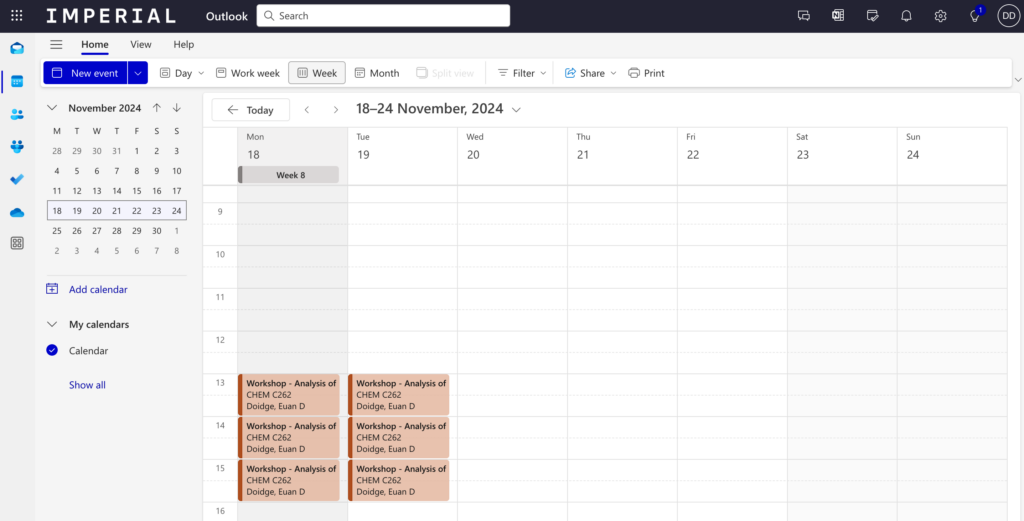
From the ‘waffle’ symbol, select Calendar

4. Navigate your Calendar

Use the various options to move between days, weeks, months, to view your timetable.

Events from your timetable, as well as any events that you create yourself, will be shown in the grid.

5. View and understand Event details

The event in your calendar will show the Event Name, Room, and other details, but may be limited given the space available on screen.

To see more event details, double-click an event in the Calendar to load a popup screen.

Important details can be found here:

  • Title – shows the event name
  • Date – shows date and start/end time of the event
  • Module – shows the name of the module the event is part of
  • Room – shows the room(s) the event is scheduled to take place in
  • Staff – shows the staff assigned to this event on this specific date/time
  • Group – shows the group of students attached to this event
  • Event category – shows the type of activity scheduled
  • Notes – any other notes may be written here (e.g. links to website, Teams links, etc.)

Note – events in your Timetable cannot be deleted. If you try to delete an event, it will reappear a short while later. Timetable events can only be added/removed/edited by the Departmental Timetabler.

Advice

A calendar/timetable can be a really helpful tool to help manage your time and workload. Try some of the tips below when using Outlook Calendar!

Colour Code with Event Categories

Outlook Calendar shows all events with the standard colours by default. You can change the colour an event appears as by right-clicking an event, selecting ‘Categorise’, and applying a tag.

You can categorise based on event type (e.g. lectures, tutorials), or by ‘actions’ (e.g. things that require work in advance, a deadline).

Track Deadlines with your own Events and Reminders

Outlook Calendar shows your timetabled events, but you can also create your own!

A strong recommendation is to add in all of your deadlines as soon as you know them (e.g. by going through a module handbook for dates/times). Put these in your calendar, give them a category/colour so they’re noticeable. You can even set a reminder for a time in advance – edit the event and select from the ‘reminder’ category.

Schedule your work/focus time, and play time!

Outlook Calendar shows all your timetabled events, and you can add your own for e.g. deadlines.

Try adding in time specifically to complete a piece of work (e.g. a lab report) – planning your time to focus on a task can help keep you on time.

Of course, you can also schedule time for relaxing and enjoying yourself – this is also important to make sure you have time for!